Move cursor over photo to see the "before" images
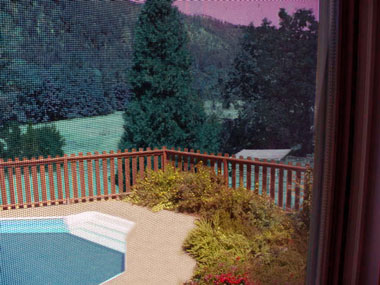
The original photo intruiged me because, well first of all, I have no idea what that flame-like structure is. It was also taken through a window screen and I wanted to see if I could save the screen's texture without it looking too distorted (I think it worked). I mostly used the clone stamp tool from the surrounding areas to block the "flame."
I isolated the three main trees in the background and did hue/saturation adjustment layers on them. I also did that for the pool and the fence and background with different colors for each.
I used the clone and healing brush tools to subdue that distracting reflection and shadow towards the right side of the photo.
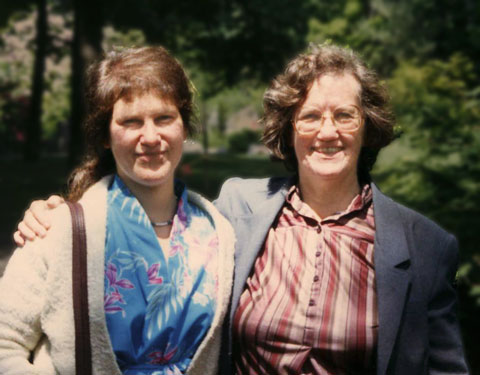
I like this photo, but it was taken in bright sunlight (Hawaii, go figure) and there were some distracting shadows on the faces. Again the healing brush worked wonders.
I made several adjustment layers both on the figures and background. I evened out the shadows and highlights in the people and gave them a sepia photo filter. I also gave the background a photo filter and blurred it. I gave the people another photo filter called, warming 85 to bring some flesh tones into the washed out highlights.
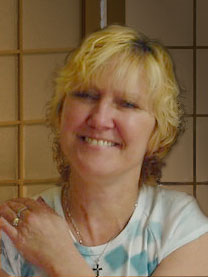
I cropped this from a larger photo of two sisters, the other had her arm around this one's shoulder. The face was lost in shadow, so again I hightlighted the shadows. She had a scar from an operation on her neck and I thought it would be complimentary to her appearance to remove it. There was a lot of weird coloring on the neck too, that didn't help. I used the patch tool to smooth out the differences. Taking out the other sister was a challenge. The clone stamp tool brought in the soji screen detail. I had to do a lot of blurring and fading to get the photo to look natural, as there was a sort of cut-out look to it. I didn't want it to look photoshopped!
I applied 2 adjustment layers to the soji screen, one a warm photo filter and the other a gradient layer.